The One With No Name (Challenge) - Season 3
Thanks to those content creators!
We built this guide after watching many videos from awesome creators—huge thanks to them! 🙏 Follow the people below to deepen your understanding of Co-op Expeditions (Challenge Mode). Clicking a button opens their video in a modal. We don’t cover Normal mode here since it’s generally straightforward. Need previous seasons? You’ll find them on this page.
Team Setup
Based on multiple runs and creator footage, here’s who performed best by role and stage. This is a practical shortlist, not the only way to clear—other teams can work depending on gear and coordination.

Challenge Stage 1
Mystic Resistance required: 4000 / Lvl 15 Jewel
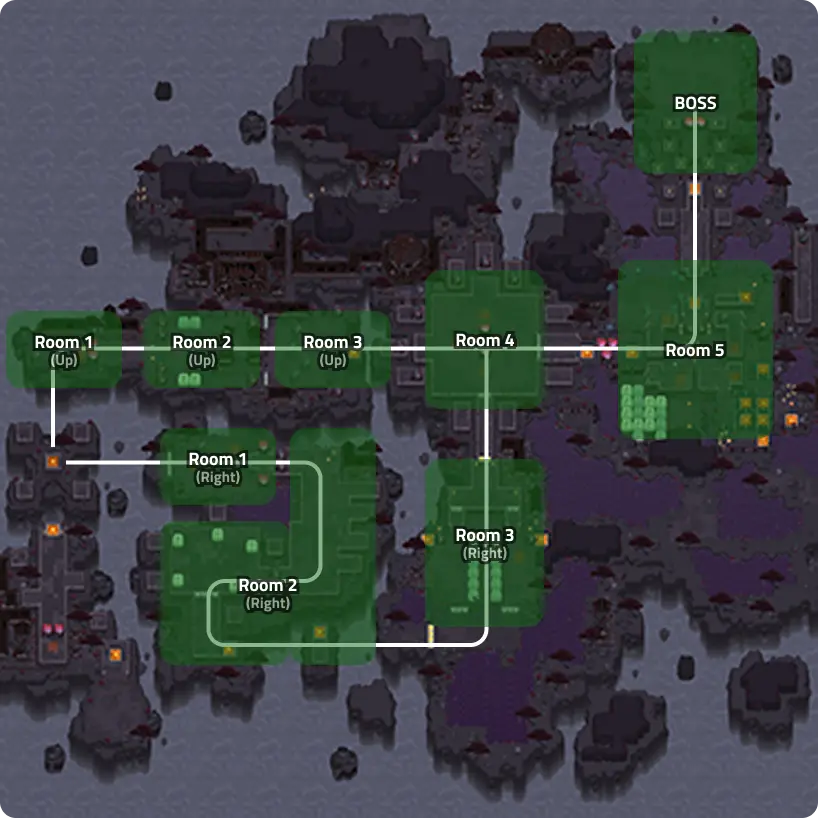
Right Path
Room 1
Split and stand on the 3 flaming circles to remove shields, then burst the top turret. The tank should shield Hwacha projectiles so DPS can push safely.
Room 2
Destroy the tower. Tank holds the switch to stop fireballs while allies clear south and press their button to reopen the path. During the Hwacha fight, either hide behind rocks or let the tank block. A shielded monster spawns—have the tank taunt and bait it into a rock to break the shield, then burst.
Room 3
Two lanes: tank right to kite the Giant Yokai, team goes left. Activate the top switch, then jump to rejoin your tank and finish the giant. New Hwacha spawn—hit the right-lane top switch, pressure the Hwacha, tank blocks projectiles.
Up Path
Room 1
Break the three frog rocks. Tank taunts the lightning to take the red mark.Healer: drop your healing circle after the hit to cleanse the mark, or the tank can’t use skills.
Room 2
Tank advances first and blocks red orbs with shield to open the path.Taunt the Yokai Giant. A shielded enemy appears—lure it into a rock to strip the shield.
Room 3
Tank goes in and shields purple shots. While Hwacha spawn, hit the top & bottom switches to disable frog statues. With shield on cooldown, use the extra space to dodge until hazards clear.
Room 4
Spread on the 4 flaming circles while the tank shields orbs. Wave 2 spawns a central tower aura—stand inside to avoid damage reduction and focus the tower first. A grid of orbs follows—hug the right side below the red gates to stay safe.
Room 5
Use the jump pad and rotating button to split on 4 directions, for each player there will be a small puzzle, once done each one, step on the 4 flaming circles to open the door forward.
Secret ATK Buff (+3%)There is a secret path: You can assign the hero from north-east to destroy the Frog Statue and press a hidden button (just above the flaming circle) . It will switch the jump pad at the end to lead you to a statue to destroy, by killing it you'll get an ATK buff for the whole team (+3%). There will be a portal behind it to continue the stage.
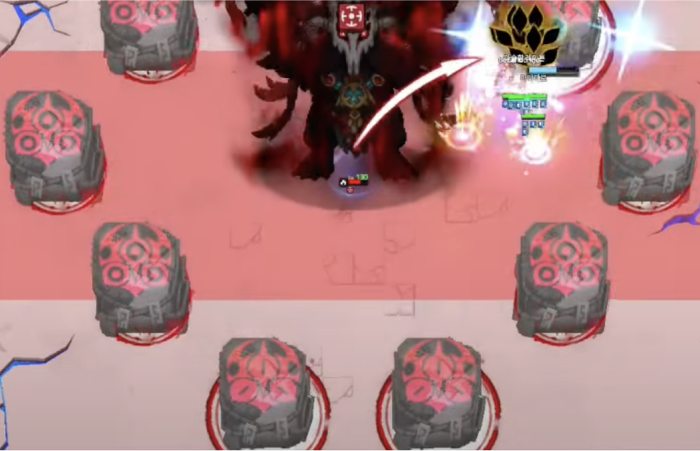
Boss Room
The boss behaves like a Shadow Beast variant. Tank holds aggro and blocks projectiles; team focuses patterns and bursts during openings.
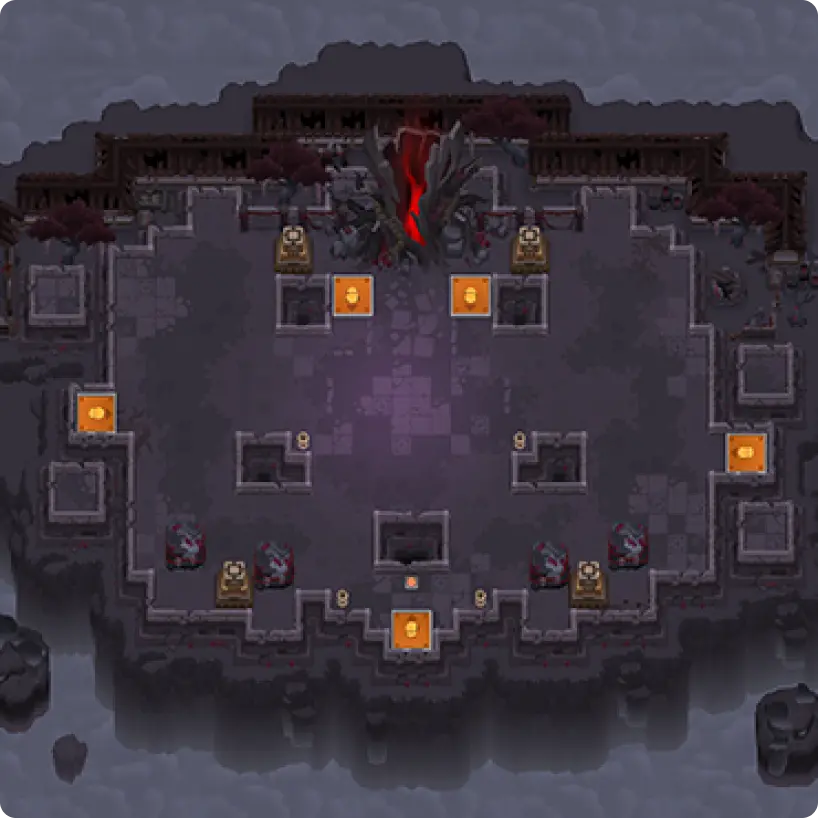
Challenge Stage 2
Mystic Resistance required: 4150 / Lvl 15 Jewel
Wave 1
Enemies from left. Two lanes of red orbs sweep horizontally—stay centered vertically. When patterns switch vertically, keep middle to stay safe.
Wave 2
Enemies from left. Healer stands on the south button to keep torches lit and block cross-shaped frog orbs.Refresh the torch by staying on the button until the wave ends.
Wave 3
Enemies from north. Spend coins on a Turret Tower.Tanks → Defense upgrades. DPS → Skill Damage (great with Little Princess Statue) or ATK. If your healer is Eunha, prioritize her Skill Damage; otherwise, Defense helps survivability. Healer keeps the south button covered.
Wave 4
Enemies from south. Keep healer on the button to nullify frog orbs and smooth the wave.
Wave 5
Enemies from north. After the clear, rotate down fast—next group spawns from south.
Wave 6
Pre-cast weapon skills mid to stun and cancel ball attacks. After the Giant Yokai dies, a Recovery Zone appears. Watch torch cooldown—send healer to refresh if needed.
Wave 7
Tank shields early to mitigate Hwacha burst and protect the party.
Wave 8
Start positions: Tank covers the southern hole, Healer stays on the button, DPS clear the north. Tank blocks massive purple orbs that cross the map. Clear this wave to finish the stage.
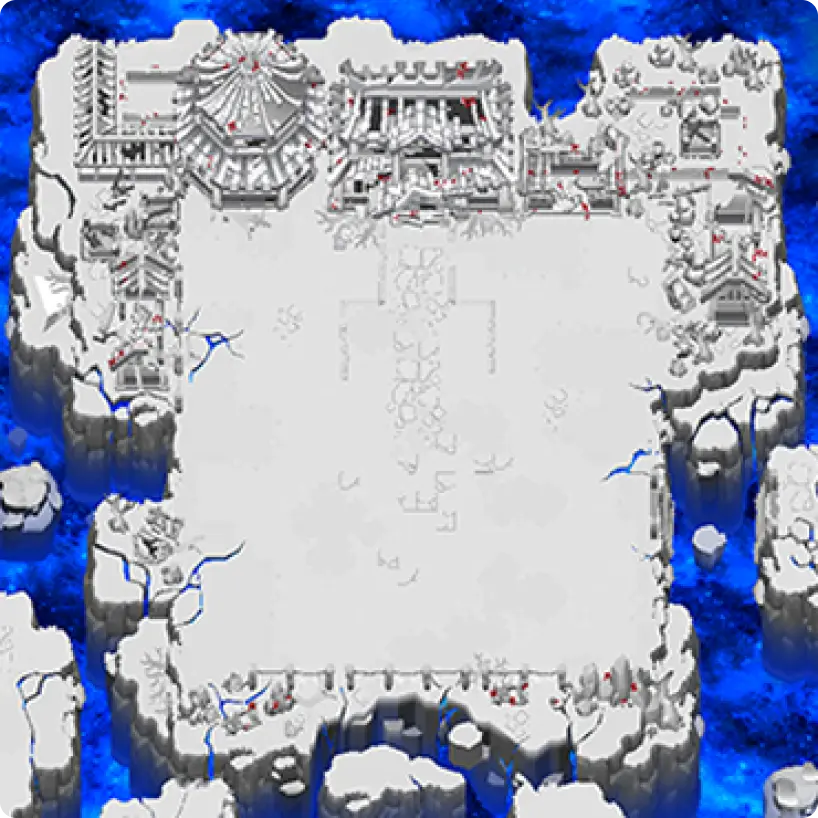
Challenge Stage 3
Mystic Resistance required: 4300 / Lvl 16 Jewel
Battle Start
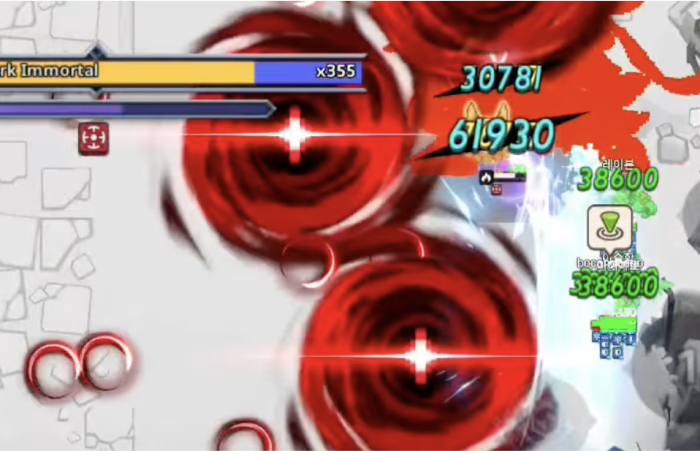
“Sorter Dark Immortal” appears with 300 bars.Immediate taunt is crucial—early normals can one-shot DPS. Stabilize, then burst.
Second Phase
At 0/300, the boss awakens with +500 bars and stronger patterns. Below are the mechanics and how to handle them.
Pizza Slices
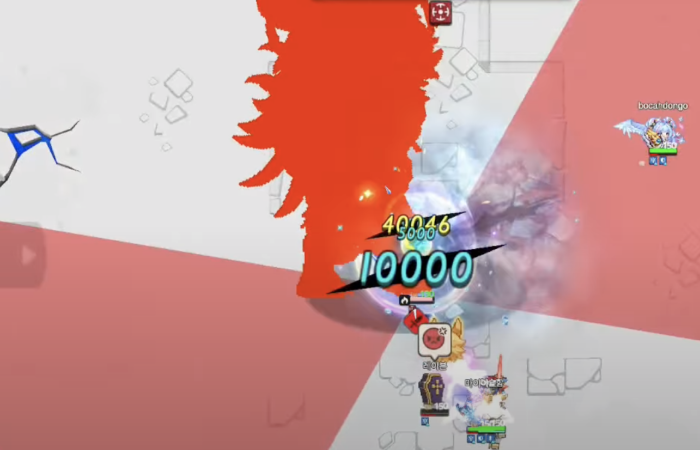
Phase 1: Cone AoE aimed at the aggro holder and a mirrored cone (hourglass).Stand outside the zones. Tanks can eat it with pushback if needed.
Phase 2: Three consecutive cones (3 AoE instead of 2). First targets aggro, then the rest fill the gaps.Track the pattern and rotate to safe slices. Or go far away to avoid that attack and go back to the boss once done.
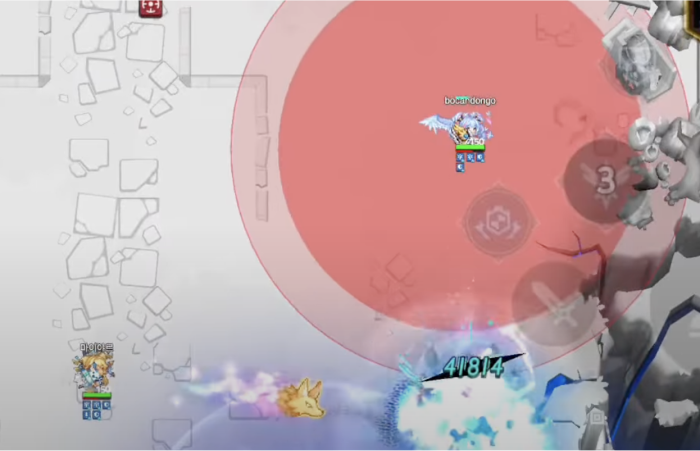
Red Vortex
Phase 1: 2 moving vortexes spawn red projectiles. Stick to a wall and let the tank block with shield skill. Don't go to the closest wall, if the attack is already close, you will get hit.
Phase 2: 3 vortexes, faster movement/projectiles. Stick to a wall and let the tank block with shield skill.
Eye Seals
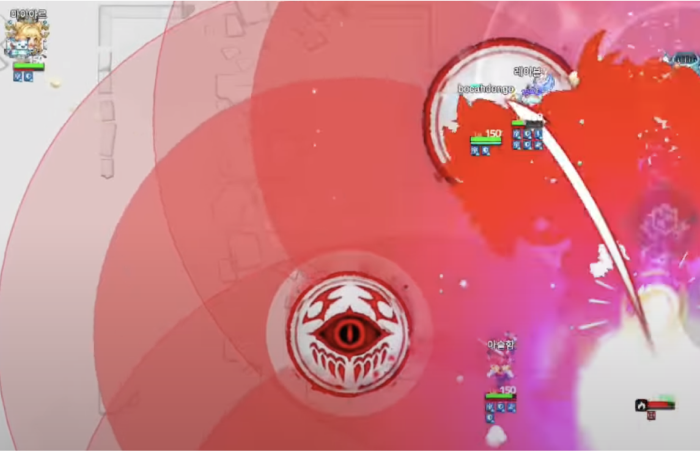
Phase 1: Boss dashes, leaving seals. The safe option: Stand in a seal with no eye. Alternatively, step out of the red AoE zones.
Phase 2: More seals, same rules—no eye = safe, avoid red AoEs.
Cross Lasers


Phase 1: A small orb spawns on a player and bursts into a cross.Drop it safely, then move to a safe quadrant.
Phase 2: Three orbs instead of one. After they pop, they’ll snap a small laser to the nearest player—sidestep it.
Leap
Phase 1: Leap targets aggro. Avoid the landing AoE (DPS/healer).
Phase 2: A doughnut AoE expands from the landing. Go back and move in the boss to avoid it.It leaves a shrinking safe field—stay inside until it expires or you’ll take damage by try going out of it.
Slashes


Phase 1: Horizontal bar AoEs leave red zones. Don’t linger.
Phase 2: More bars, tighter spacing—keep rotating through safe strips.
Seals and Rocks
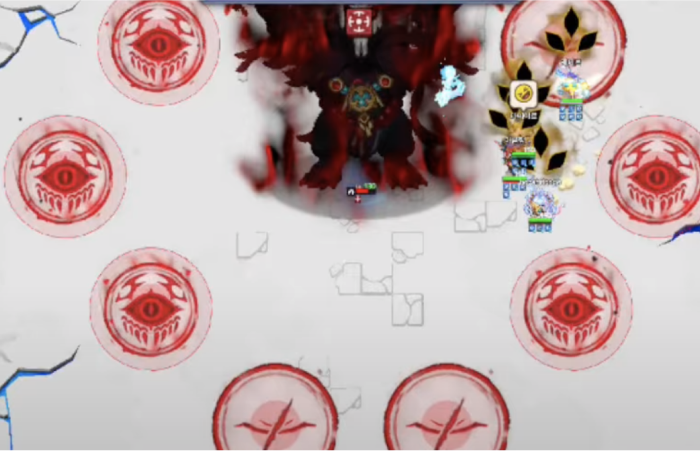
Phase 2 only: Boss is immune. The boss casts three seal waves (first with 3 safe seals, then 2, then 1). Start outside, a rock falls—burst the same rock as a group, then stand on a safe seal (no eye).Regroup between waves, redirect to the nearest safe seal, and avoid falling rocks.
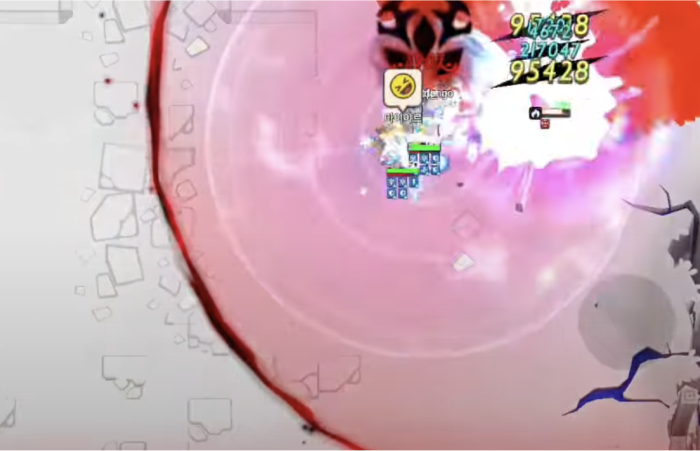
Red Fog


Phase 2 only: A large red fog covers the area—stay in the clear zone to avoid DoT. The boss fires chain projectiles; tank stays closest and uses shield. When projectiles convert into big red orbs, the tank walks into them to neutralize and protect the team.